Flask Tutorial: Build a Python Website from Scratch
Table of Contents
- Introduction
- Prerequisites
- Install Flask
- Create the Project Structure
- Build Your First Route
- Add HTML Templates
- Handle a Simple Form
- Recommended Project Structure
- Next Steps
Introduction
Flask is a lightweight Python web framework that is friendly for beginners but flexible enough for real applications. It gives you routing, request handling, templates, and extension support without forcing a large project structure from day one.
In this tutorial, you will create a small Flask website from scratch. The goal is not to build a huge production app immediately, but to understand the core building blocks: routes, templates, forms, and project organization.
Prerequisites
Before starting, make sure you have:
- Python 3 installed
- basic Python knowledge
- a terminal or command prompt
- a code editor
You can check your Python version with:
python --versionDepending on your system, you may need to use python3 instead of python.
Install Flask
Create a new folder for your project:
mkdir my_flask_app
cd my_flask_app
Then create and activate a virtual environment:
python -m venv .venvOn macOS or Linux:
source .venv/bin/activateOn Windows:
.venv\Scripts\activateInstall Flask:
pip install FlaskCreate the Project Structure
Start with a simple structure:
my_flask_app/
└── app.py
Create app.py and add your first Flask application.
Build Your First Route
from flask import Flask

app = Flask(__name__)

@app.route("/")
def home():
    return "Hello, Flask!"

if __name__ == "__main__":
    app.run(debug=True)
Run the app:
python app.pyOpen this URL in your browser:
http://127.0.0.1:5000/You should see:
Hello, Flask!Add HTML Templates
Returning plain text is useful for testing, but real websites need HTML. Flask uses Jinja templates by default.
Update your structure:
my_flask_app/
├── app.py
└── templates/
    └── home.html
Create templates/home.html:
<!DOCTYPE html>
<html lang="en">
<head>
  <meta charset="UTF-8">
  <title>Home</title>
</head>
<body>
  <h1>Hello, Flask!</h1>
  <p>Welcome to your first Flask website.</p>
</body>
</html>
Update app.py:
from flask import Flask, render_template

app = Flask(__name__)

@app.route("/")
def home():
    return render_template("home.html")

if __name__ == "__main__":
    app.run(debug=True)
Refresh the browser and Flask will render the template.
Handle a Simple Form
Add a basic route that accepts a name:
from flask import Flask, render_template, request

app = Flask(__name__)

@app.route("/", methods=["GET", "POST"])
def home():
    name = None
    if request.method == "POST":
        name = request.form.get("name")
    return render_template("home.html", name=name)
Update home.html:
<form method="post">
  <label for="name">Your name</label>
  <input id="name" name="name" type="text">
  <button type="submit">Submit</button>
</form>

{% if name %}
  <p>Hello, {{ name }}!</p>
{% endif %}
Jinja lets you pass data from Python into HTML safely and clearly.
Recommended Project Structure
As the project grows, avoid putting everything in one file. A slightly better starter structure looks like this:
my_flask_app/
├── app.py
├── templates/
│   └── home.html
└── static/
    └── style.css
For larger apps, you can later learn about blueprints, configuration files, database models, migrations, and testing.
Next Steps
You now have the foundation of a Flask website:
- Flask installed in a virtual environment
- a route that responds to browser requests
- an HTML template rendered by Flask
- a basic form handled with
request.form - a project structure that can grow gradually
From here, try adding a second page, styling it with CSS, and connecting a database with SQLAlchemy.
Related Articles
Keep reading within the same topic.

Flask CRUD App: Build with MySQL, Auth, and Caching
Build a Flask CRUD app with MySQL, authentication, testing, caching, environment setup, and deployment-ready project structure.
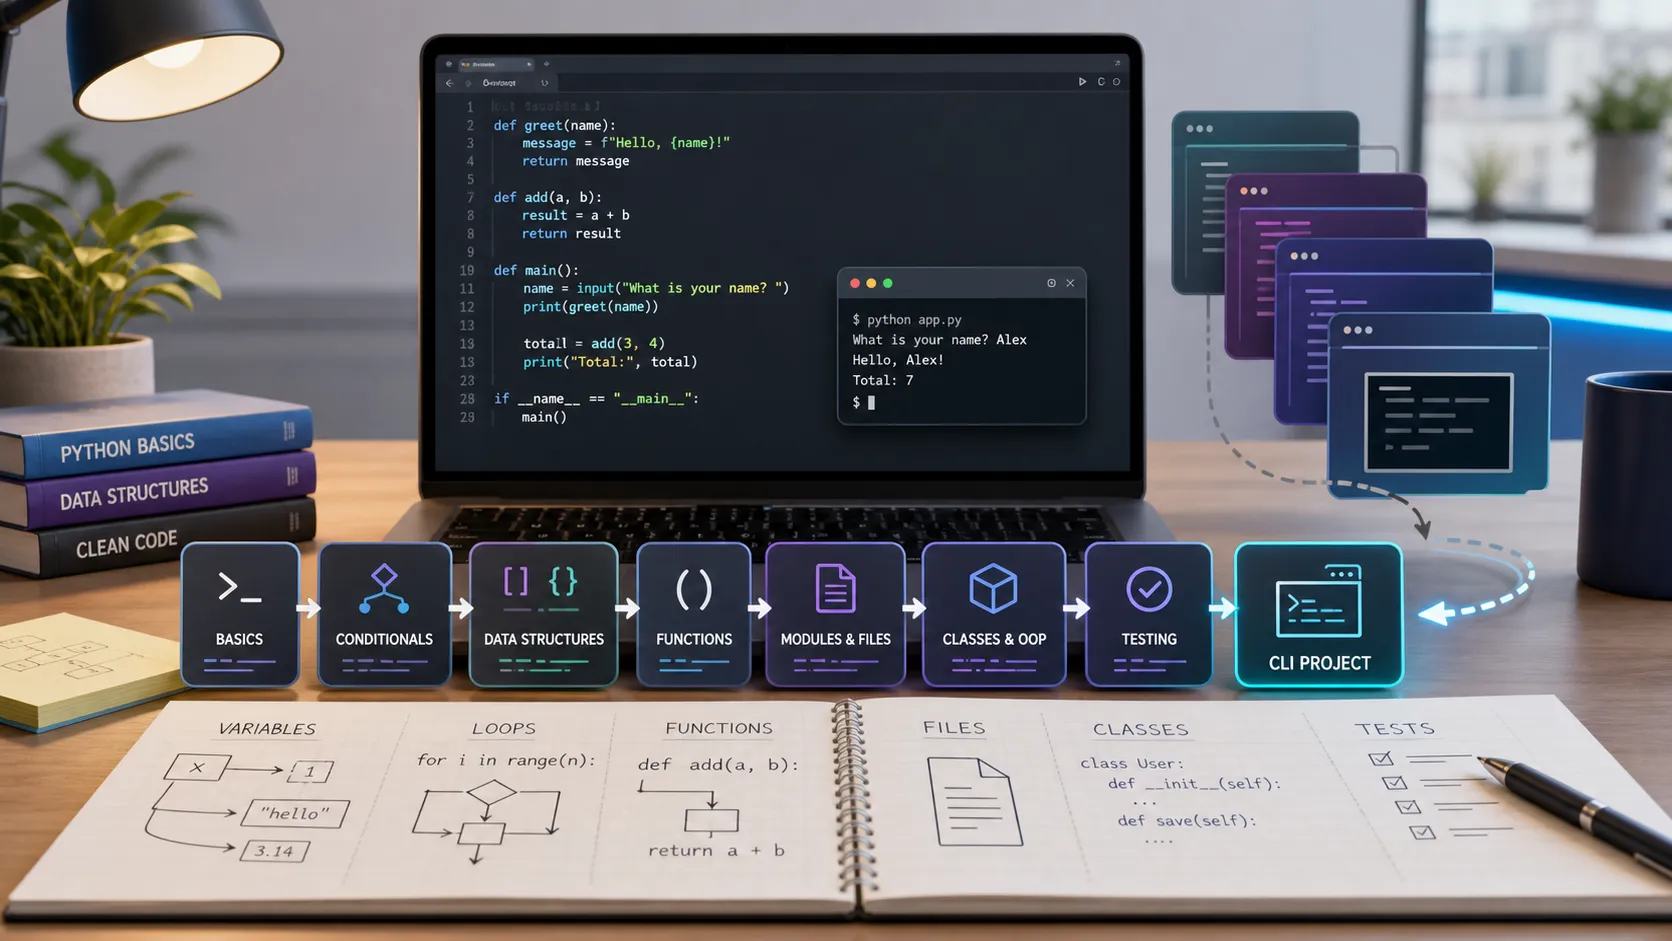
Python Fundamentals: Variables, Types, and Control Flow
Learn Python fundamentals from scratch: variables, data types, operators, input/output, if statements, loops, and a simple practice script.
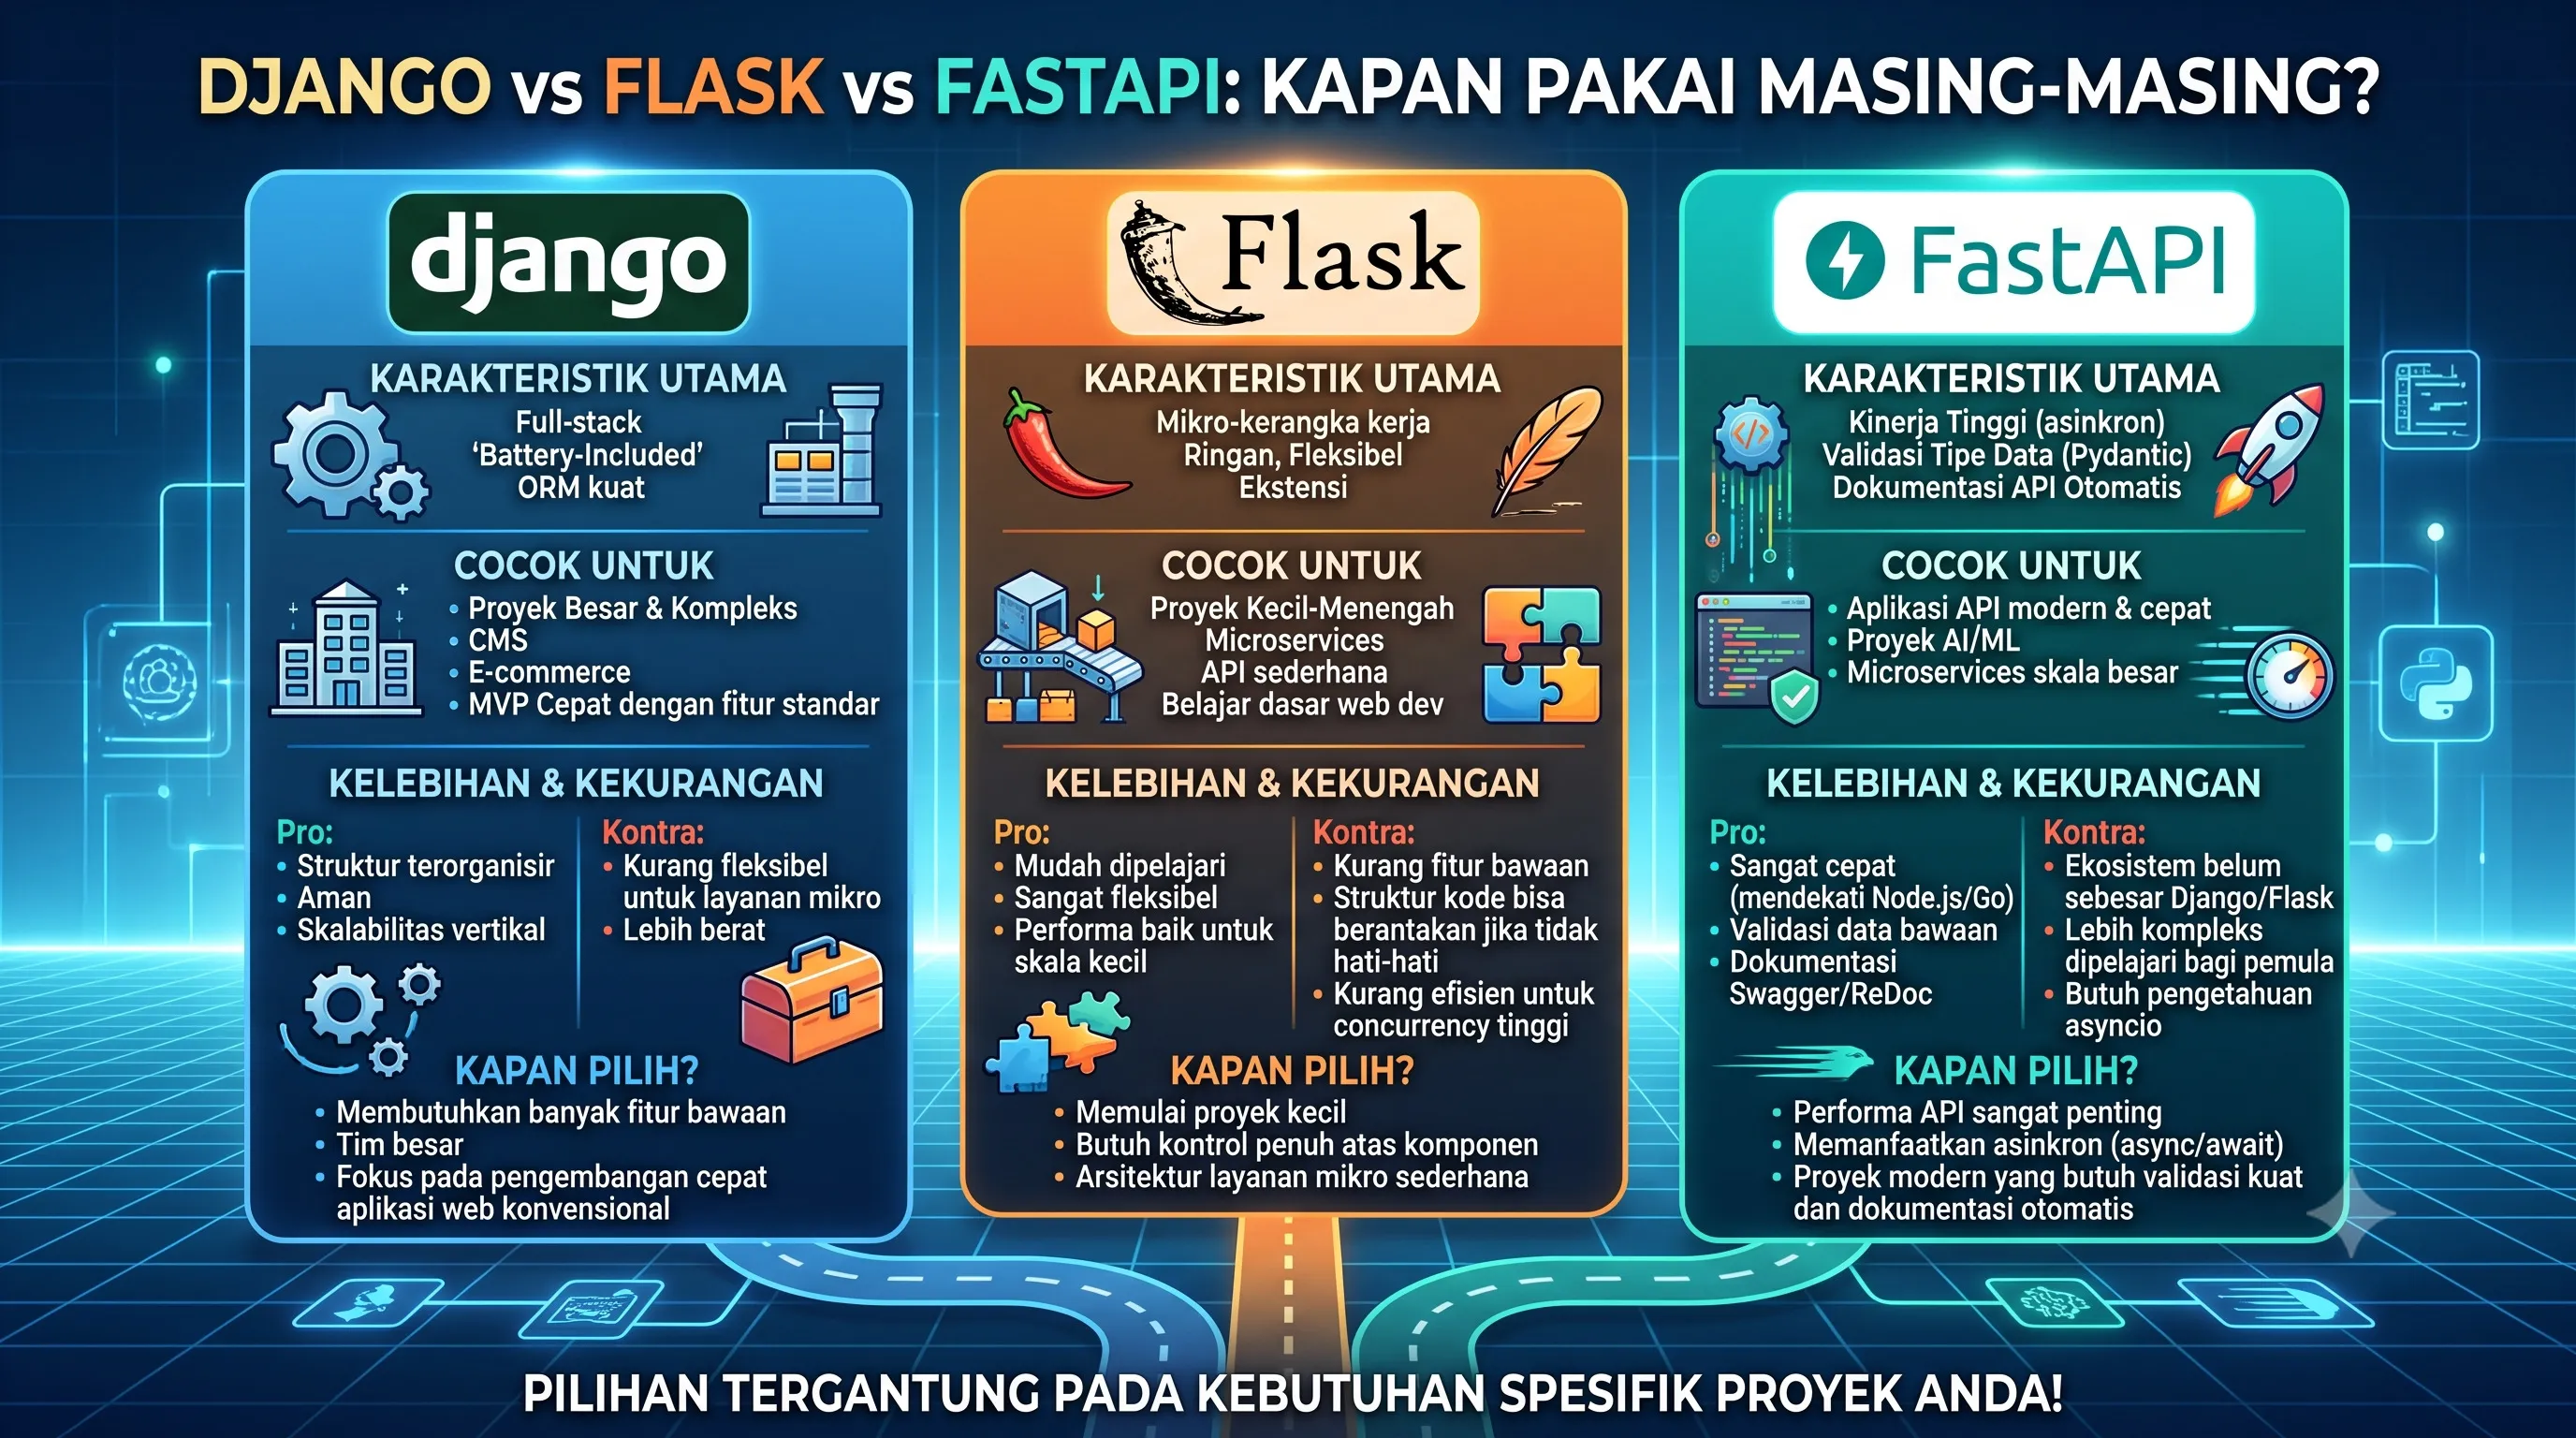
Django vs Flask vs FastAPI: When to Use Each
Compare Django, Flask, and FastAPI by use case, speed, async support, admin features, validation, team fit, and real Python project needs.
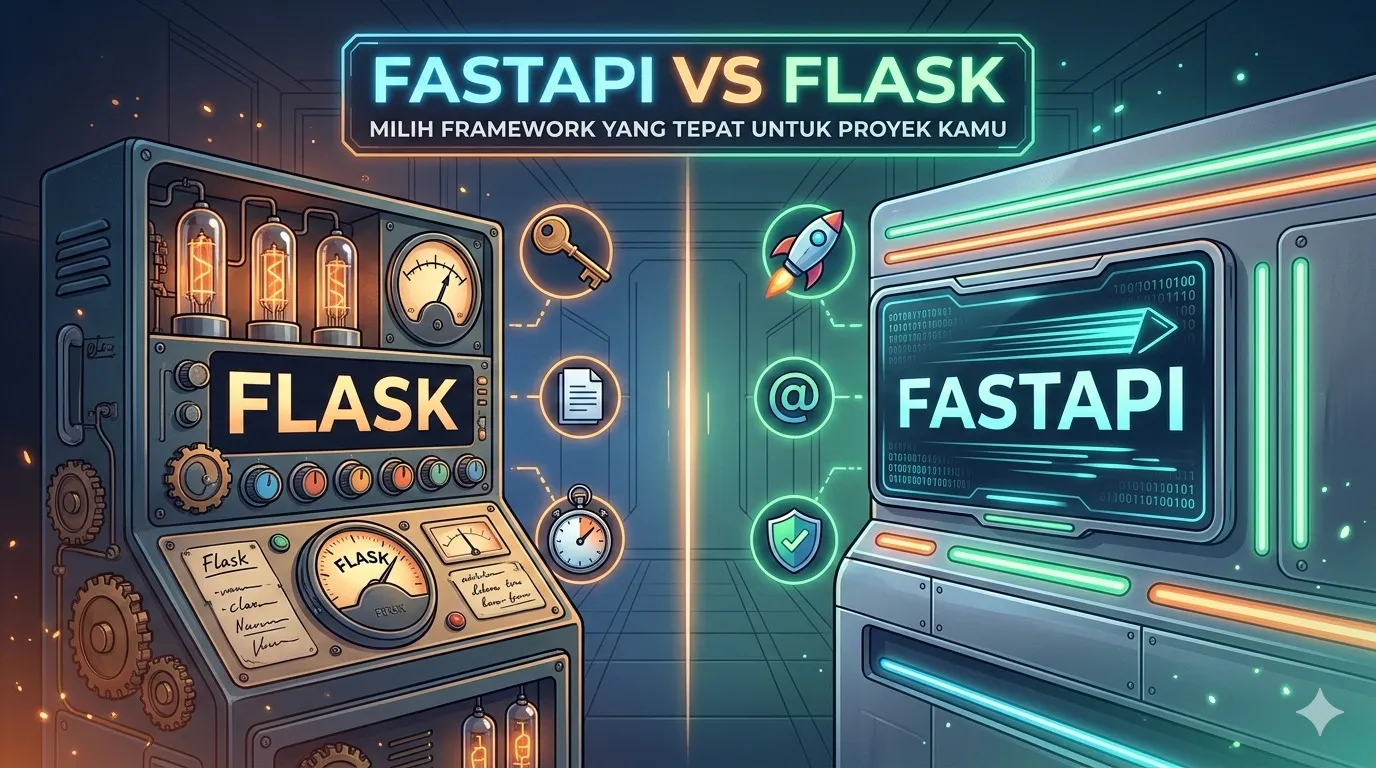
FastAPI vs Flask: Performance, Async, and Validation
Compare FastAPI and Flask by performance, async support, validation, developer experience, ecosystem, and real-world Python API use cases.