Flutter Basics: Build Your First Mobile App from Scratch
Table of Contents
- Introduction
- Why Flutter Is a Good Fit for Beginners
- Understanding How Flutter Works
- Setting Up the Environment Safely
- Creating Your First Flutter Project
- Understanding the Project Structure
- Building a UI with Widgets
- Adding Interaction and State
- Navigation Between Screens
- Fetching Simple API Data
- Basic Testing and Debugging
- Common Mistakes When Starting Out
- Checklist Before Publishing
- FAQ
- Conclusion
Introduction
Flutter is Google’s UI framework for building mobile, web, and desktop applications from a single codebase. For developers who want to move into mobile development without immediately writing Kotlin, Swift, or Objective-C, Flutter is often one of the fastest entry points.
Its biggest advantage is not just cross-platform reach. Flutter also offers a strong developer experience: fast hot reload, solid documentation, a consistent widget system, and mature tooling for both beginners and production teams.
This article focuses on the most practical path for a “Flutter Basics” topic: build a simple first mobile app, understand the core ideas, and avoid the early mistakes that slow new developers down.
Why Flutter Is a Good Fit for Beginners
There are several reasons Flutter works well as a first step into mobile development.
One mental model for UI
Flutter uses widgets for almost everything: layout, text, buttons, padding, icons, and full screen structure. At first it may feel like a lot, but the consistency is exactly what makes the system easier to learn over time. Once you understand how widgets compose, many other parts of the framework become predictable.
Hot reload speeds up learning
Fast feedback matters when you are learning UI. With hot reload, you can change text, spacing, colors, or layout and see the result almost immediately. That makes experimentation much less painful than rebuilding the entire app every time.
One codebase, multiple targets
This article is focused on mobile, but Flutter gives you a future path toward web and desktop as well. A single codebase is not always the right architectural choice, but for internal tools, MVPs, and early product validation, it can be a major advantage.
Dart is approachable
Dart feels familiar to developers coming from JavaScript, Java, C#, or TypeScript. You still need to get comfortable with types, classes, and async behavior, but the learning curve is usually manageable.
Understanding How Flutter Works
Before writing code, keep these three ideas in mind.
1. Everything is a widget
Text, Row, Column, Scaffold, AppBar, Container, and ElevatedButton are all widgets. A Flutter UI is essentially a widget tree built from small pieces into larger screens.
2. UI is rebuilt from state
Flutter does not follow the “find an element and mutate it directly” model of manual DOM manipulation. You update state, and the framework rebuilds the relevant part of the UI.
3. Layout is declarative
You describe the result you want instead of writing imperative drawing steps. That makes the UI easier to read and maintain as long as the widget structure stays reasonable.
Setting Up the Environment Safely
To get started, install the Flutter SDK from the official documentation and make sure the platform dependencies are ready as well.
The minimum setup usually includes:
- Flutter SDK
- Android Studio or the Android SDK command-line tools
- Chrome if you want to test for web
- Xcode on macOS if you need iOS development
- An editor such as VS Code or Android Studio
After installation, run:
flutter doctorThis command tells you whether any dependencies are still missing. Do not ignore its output. Many beginner problems are not caused by code at all, but by emulators, Android SDK licenses, or broken environment paths.
If flutter doctor still shows failures, fix them before creating a project. It is a small discipline that saves a lot of wasted debugging time later.
Creating Your First Flutter Project
Once the environment is ready, create a new project:
flutter create hello_flutter
cd hello_flutter
flutter run
flutter create generates a complete starter project. Run it before changing anything. The goal is simple: verify that your toolchain, emulator, and build process are healthy.
If the default app works, then start editing. This is a more disciplined approach than writing a lot of code first and only later discovering whether the issue came from setup or implementation.
Understanding the Project Structure
In a new Flutter project, these areas matter most:
lib/: the main application source codelib/main.dart: the application entry pointtest/: unit and widget testspubspec.yaml: dependencies, assets, and project metadataandroid/andios/: native platform configuration
Your early focus should stay on lib/main.dart. Do not rush into the native folders if your current goal is simply learning the Flutter flow.
Here is a small entry point example:
import 'package:flutter/material.dart';

void main() {
  runApp(const MyApp());
}

class MyApp extends StatelessWidget {
  const MyApp({super.key});

  @override
  Widget build(BuildContext context) {
    return MaterialApp(
      title: 'Hello Flutter',
      home: const HomePage(),
    );
  }
}
Here, runApp starts the application and MaterialApp provides the Material Design foundation, routing, and a number of useful default behaviors.
Building a UI with Widgets
Let us create a first screen that is slightly more realistic than the default counter template.
class HomePage extends StatelessWidget {
  const HomePage({super.key});

  @override
  Widget build(BuildContext context) {
    return Scaffold(
      appBar: AppBar(
        title: const Text('Your First Flutter App'),
      ),
      body: Padding(
        padding: const EdgeInsets.all(24),
        child: Column(
          crossAxisAlignment: CrossAxisAlignment.start,
          children: const [
            Text(
              'Hello Flutter!',
              style: TextStyle(fontSize: 28, fontWeight: FontWeight.bold),
            ),
            SizedBox(height: 12),
            Text(
              'This is your first mobile app built with Flutter.',
            ),
          ],
        ),
      ),
    );
  }
}
Important ideas in that example:
Scaffoldprovides the basic screen structure.AppBarhandles the header area.Paddingkeeps layout spacing intentional.Columnstacks elements vertically.SizedBoxgives explicit spacing.
If you come from CSS, think of Flutter layout widgets as a mix of structure and presentation rather than plain HTML elements styled from the outside.
Adding Interaction and State
A mobile app without interaction quickly feels like a mockup. The next step is adding simple state.
class HomePage extends StatefulWidget {
  const HomePage({super.key});

  @override
  State<HomePage> createState() => _HomePageState();
}

class _HomePageState extends State<HomePage> {
  int tapCount = 0;

  void incrementCounter() {
    setState(() {
      tapCount += 1;
    });
  }

  @override
  Widget build(BuildContext context) {
    return Scaffold(
      appBar: AppBar(title: const Text('Flutter Basics')),
      body: Center(
        child: Text('Button tapped $tapCount times'),
      ),
      floatingActionButton: FloatingActionButton(
        onPressed: incrementCounter,
        child: const Icon(Icons.add),
      ),
    );
  }
}
setState tells Flutter that state has changed and the UI should be rebuilt. For small apps, this is enough. In larger codebases, you will later encounter tools such as Provider, Riverpod, Bloc, or Cubit. But for a first project, understand StatefulWidget clearly before reaching for extra abstraction.
Navigation Between Screens
As soon as one screen is done, you will need to move to another. Flutter includes stack-based navigation.
Navigator.push(
  context,
  MaterialPageRoute(
    builder: (context) => const DetailPage(),
  ),
);
And to go back:
Navigator.pop(context);For small applications, the built-in Navigator is simple and effective. Do not introduce a more complex router too early if you only have two or three screens. Complexity should arrive only when the product actually needs it.
Fetching Simple API Data
Sooner or later, your mobile app will talk to a backend. The simplest example is loading a list from a REST API.
import 'dart:convert';
import 'package:http/http.dart' as http;

Future<List<String>> fetchTitles() async {
  final response = await http.get(
    Uri.parse('https://jsonplaceholder.typicode.com/posts'),
  );

  if (response.statusCode != 200) {
    throw Exception('Failed to load data');
  }

  final List<dynamic> decoded = jsonDecode(response.body);
  return decoded.take(5).map((item) => item['title'] as String).toList();
}
Build two habits early:
- check the status code instead of assuming success
- move fetch logic out of widgets once the feature grows
To render async results, FutureBuilder is a common starting pattern before you move into more advanced state management or architecture.
Basic Testing and Debugging
Many beginners jump directly to building an APK without any testing. A few small habits make a project much healthier.
Use debugPrint
For simple logging, debugPrint is generally safer than print for long output.
Learn basic widget tests
Flutter has strong widget testing support. A simple example looks like this:
testWidgets('counter increments when button is tapped', (tester) async {
  await tester.pumpWidget(const MyApp());

  expect(find.text('Button tapped 0 times'), findsOneWidget);

  await tester.tap(find.byType(FloatingActionButton));
  await tester.pump();

  expect(find.text('Button tapped 1 times'), findsOneWidget);
});
This kind of test is simple, but it is very useful for validating basic UI behavior.
Run the analyzer
Before pushing code, get used to running:
flutter analyze
flutter test
The analyzer often catches problems earlier than manual debugging in an emulator.
Common Mistakes When Starting Out
These mistakes appear often in early Flutter projects:
- putting too much business logic directly inside widgets
- adopting complex state management too early
- ignoring network error handling
- using a long
ColumnwithoutSingleChildScrollView, causing layout overflow - not understanding the difference between
StatelessWidgetandStatefulWidget - keeping everything in one large file instead of extracting reusable widgets
Your first goal is not a perfect architecture. Your first goal is a small application that is readable, runnable, and safe to change.
Checklist Before Publishing
Before calling your first app “done”, check these points:
- the app runs on an emulator or a real device
- there are no important errors in
flutter doctororflutter analyze - the main interaction works without crashing
- loading, empty, and error states have at least been considered
- dependencies in
pubspec.yamlare not excessive - widget structure is split up once the main file grows too large
- the app icon, app name, and basic metadata are cleaned up from the default template
FAQ
Is Flutter still relevant in 2026?
Yes. Flutter remains relevant for many use cases, especially when teams want to ship cross-platform apps quickly with consistent UI control.
Do I need to learn Dart before Flutter?
Not deeply. You can learn Dart while building your first Flutter project as long as you understand variables, functions, classes, and async basics.
Is Flutter suitable for production apps?
Yes, as long as it matches the product needs, team skills, performance expectations, and native integration requirements. Cross-platform is not a universal answer, but Flutter is far beyond being only a learning tool.
Should I choose Flutter or React Native?
There is no universal answer. Flutter gives you very consistent UI control, while React Native is attractive if your team is already strong in the React ecosystem. The right choice depends on team skills and product constraints.
Conclusion
Learning Flutter does not have to begin with a complicated architecture. For your first mobile app, focus on the foundation: a healthy environment setup, understanding widgets, managing simple state, adding navigation, and building habits around validation such as analysis and tests.
Once that foundation is solid, the next steps become much easier: forms, more structured API integration, authentication, stronger state management, and eventually release workflows for the Play Store or App Store.
Start with a small app that is genuinely finished. That will build your confidence in the Flutter ecosystem much faster than trying to design a large application on day one.
Related Articles
Keep reading within the same topic.
Flutter Performance Optimization: Build Smoother Mobile Apps
Optimize Flutter mobile app performance with frame profiling, efficient lists, targeted rebuilds, isolates, image handling, and practical monitoring.
Technical Estimation: Improving Accuracy Without Over-Planning
Improve technical estimation with clearer scope, uncertainty ranges, risk discovery, feedback loops, and lightweight planning habits.
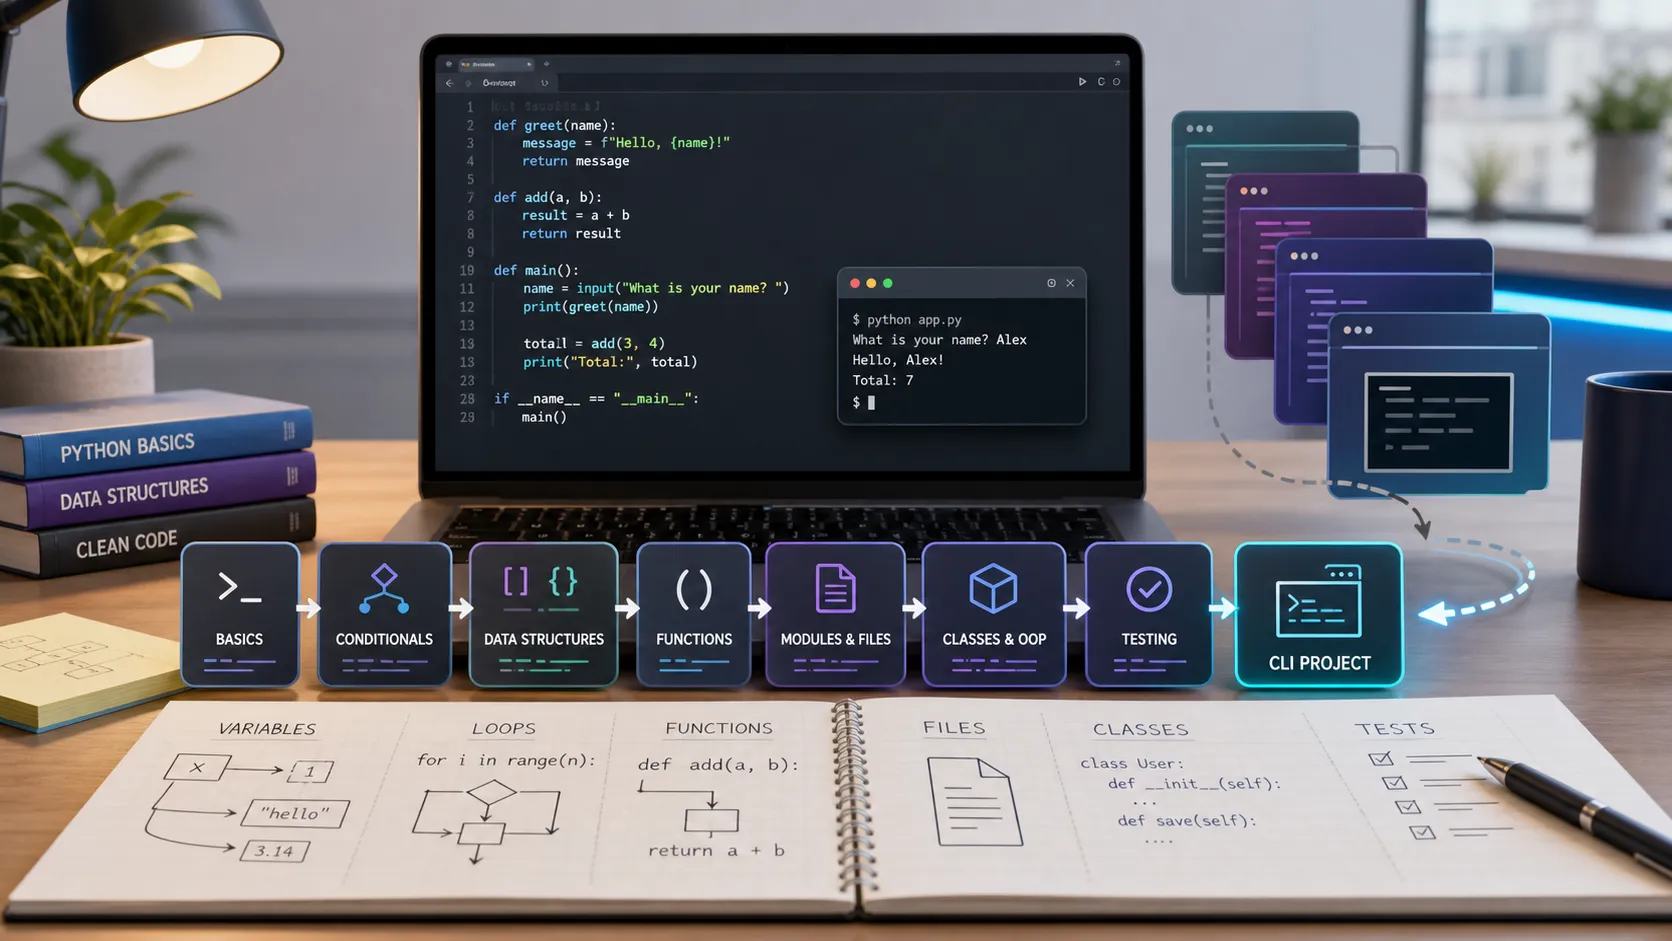
Python Fundamentals: Variables, Types, and Control Flow
Learn Python fundamentals from scratch: variables, data types, operators, input/output, if statements, loops, and a simple practice script.
Learning in Public: Building Your Developer Portfolio
Build a stronger developer portfolio by learning in public through projects, notes, demos, writeups, and consistent technical reflection.