WordPress Plugin Tutorial: Build a Plugin from Scratch
Table of Contents
- Introduction
- Prerequisites
- Create the Plugin Folder
- Add the Plugin Header
- Use WordPress Hooks
- Create a Shortcode
- Add an Admin Menu
- Security Best Practices
- Testing and Distribution
- Conclusion
Introduction
WordPress plugins let you add features without editing the active theme or WordPress core. A plugin can be small, like a shortcode, or large, like an e-commerce system.
This tutorial shows the foundation of a simple plugin from scratch.
Prerequisites
You need:
- a local WordPress installation
- basic PHP knowledge
- access to the
wp-content/pluginsfolder - a code editor
For local development, tools like Local, Docker, Laravel Herd, or XAMPP can work.
Create the Plugin Folder
Inside wp-content/plugins, create a folder:
wp-content/
└── plugins/
    └── tryztech-hello-plugin/
        └── tryztech-hello-plugin.php
The PHP file will be the main plugin file.
Add the Plugin Header
WordPress detects plugins through a header comment:
<?php
/**
 * Plugin Name: TryzTech Hello Plugin
 * Description: A simple starter plugin for learning WordPress plugin development.
 * Version: 1.0.0
 * Author: TryzTech
 * Text Domain: tryztech-hello-plugin
 */

if (! defined('ABSPATH')) {
    exit;
}
The ABSPATH check prevents direct access to the file.
After saving, open the WordPress admin dashboard, go to Plugins, and activate the plugin.
Use WordPress Hooks
Hooks let your plugin run code at specific moments.
There are two main types:
- actions: run code at a point in time
- filters: modify data before it is used
Example action:
add_action('wp_footer', function () {
    echo '<p style="text-align:center">Powered by TryzTech plugin.</p>';
});
This prints a small message in the footer.
Create a Shortcode
Shortcodes let users place plugin output inside posts or pages.
function tryztech_hello_shortcode($atts) {
    $atts = shortcode_atts([
        'name' => 'Developer',
    ], $atts);

    return '<p>Hello, ' . esc_html($atts['name']) . '!</p>';
}

add_shortcode('tryztech_hello', 'tryztech_hello_shortcode');
Use it in a post:
[tryztech_hello name="Rizky"]Always escape output with helpers like esc_html().
Add an Admin Menu
Plugins often need a settings screen.
add_action('admin_menu', function () {
    add_menu_page(
        'TryzTech Plugin',
        'TryzTech Plugin',
        'manage_options',
        'tryztech-plugin',
        'tryztech_plugin_admin_page'
    );
});

function tryztech_plugin_admin_page() {
    if (! current_user_can('manage_options')) {
        return;
    }

    echo '<div class="wrap">';
    echo '<h1>TryzTech Plugin</h1>';
    echo '<p>Welcome to your plugin settings page.</p>';
    echo '</div>';
}
The capability check ensures only authorized users can access the page.
Security Best Practices
WordPress plugin security matters because plugins run inside real websites.
Follow these basics:
- escape output with
esc_html(),esc_attr(), orwp_kses_post() - sanitize input with helpers like
sanitize_text_field() - verify nonces for form submissions
- check user capabilities before admin actions
- avoid direct file access
- use prepared statements for custom SQL
- keep dependencies updated
Small plugins still need security discipline.
Testing and Distribution
Before sharing a plugin:
- test activation and deactivation
- test with a default WordPress theme
- enable
WP_DEBUG - check PHP warnings and notices
- test admin permissions
- test shortcode output
- confirm uninstall behavior if needed
For distribution, include a readme.txt, clear versioning, screenshots if useful, and a changelog.
Conclusion
A WordPress plugin starts with a folder, a main PHP file, a plugin header, and hooks. From there, you can add shortcodes, admin pages, settings, custom post types, REST endpoints, and integrations.
Build small first, keep security in mind, and grow the plugin structure only when the feature set needs it.
Related Articles
Keep reading within the same topic.
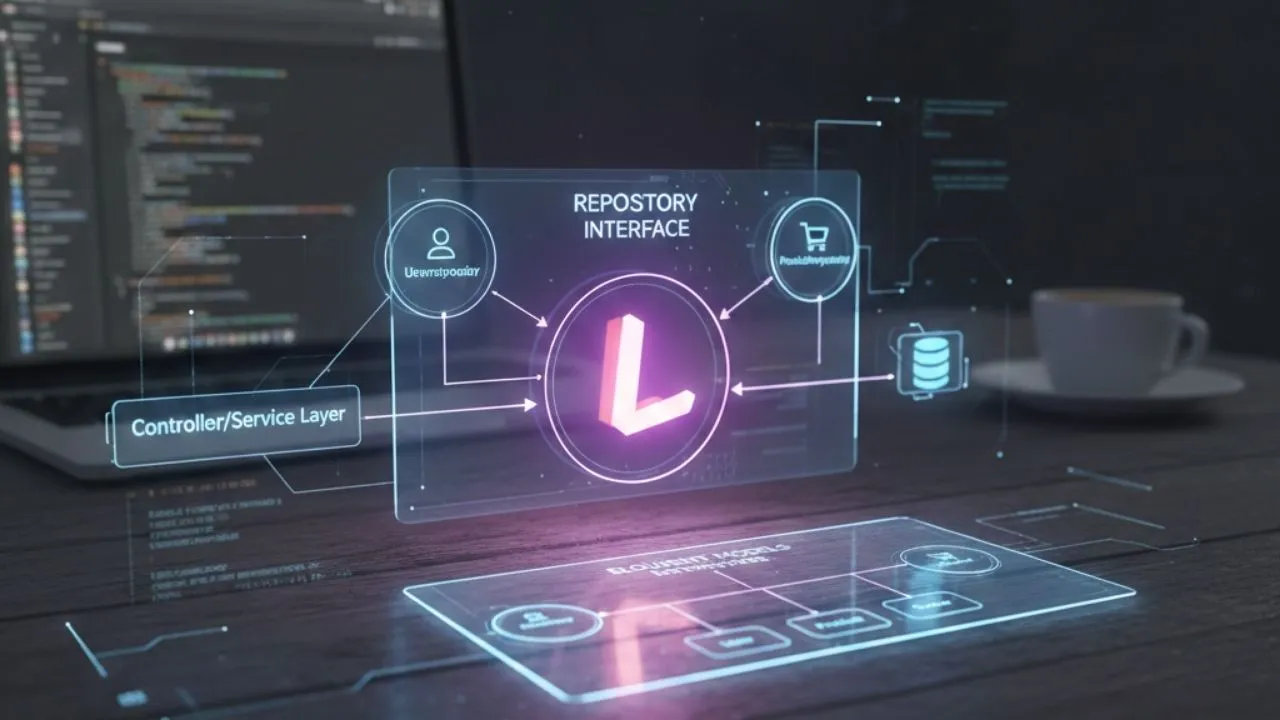
Laravel Repository Pattern: Implementation and Testing
Implement Laravel Repository Pattern to separate data access, reduce controller coupling, improve testing, and keep app architecture cleaner.
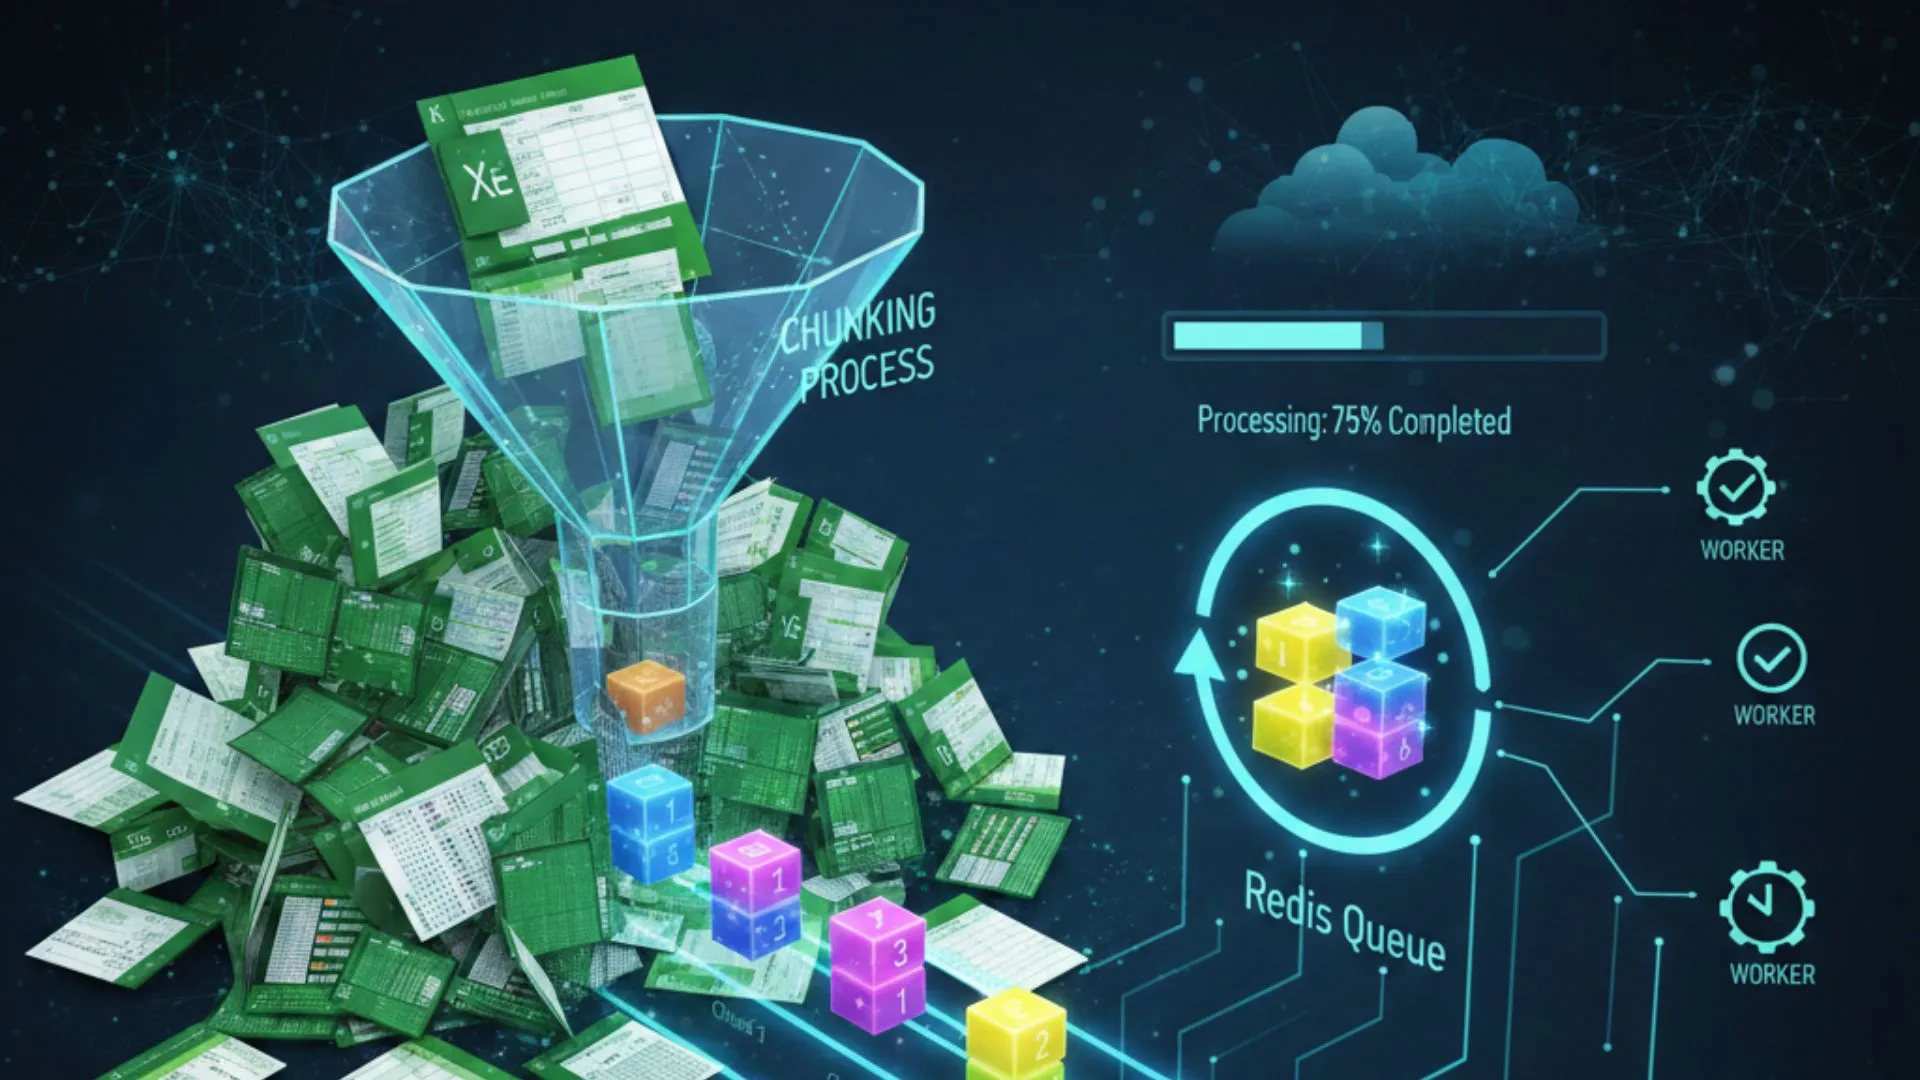
Laravel Excel Import: Chunking, Queues, and Batching
Import large Excel files in Laravel with chunking, queues, and batching to prevent memory exhaustion, timeouts, and failed jobs.

Flask Tutorial: Build a Python Website from Scratch
Learn how to build a simple Python web application with Flask, routes, templates, form handling, and a clean starter structure for beginners.
Technical Estimation: Improving Accuracy Without Over-Planning
Improve technical estimation with clearer scope, uncertainty ranges, risk discovery, feedback loops, and lightweight planning habits.